
Which is Your Favourite Stampin’ Up! Tool ?
Today I’m joining some Global Stampin’ Up! Demonstrator friends, each showcasing one of our ‘Favourite Stampin’ Up! Tools’. There are so many fabulous tools, it’s hard to pick just one for this Blog Hop. We would love you to share yours on our comments at the end of our posts.
I used to teach parchment work before I found Stampin’ Up! Having invested a lot of money into a a case and lots of tools as I built my collection, it’s not something I will ever part with.
Getting Ready to Experiment
I have been wanting to find ways to be able to replicate some Parchment techniques but using Stampin’ Up! products. I have used the two ball tools from our Take Your Pick Tool on the Stamparatus platform, plus the pokey tool point, to repeat some Parchment techniques.
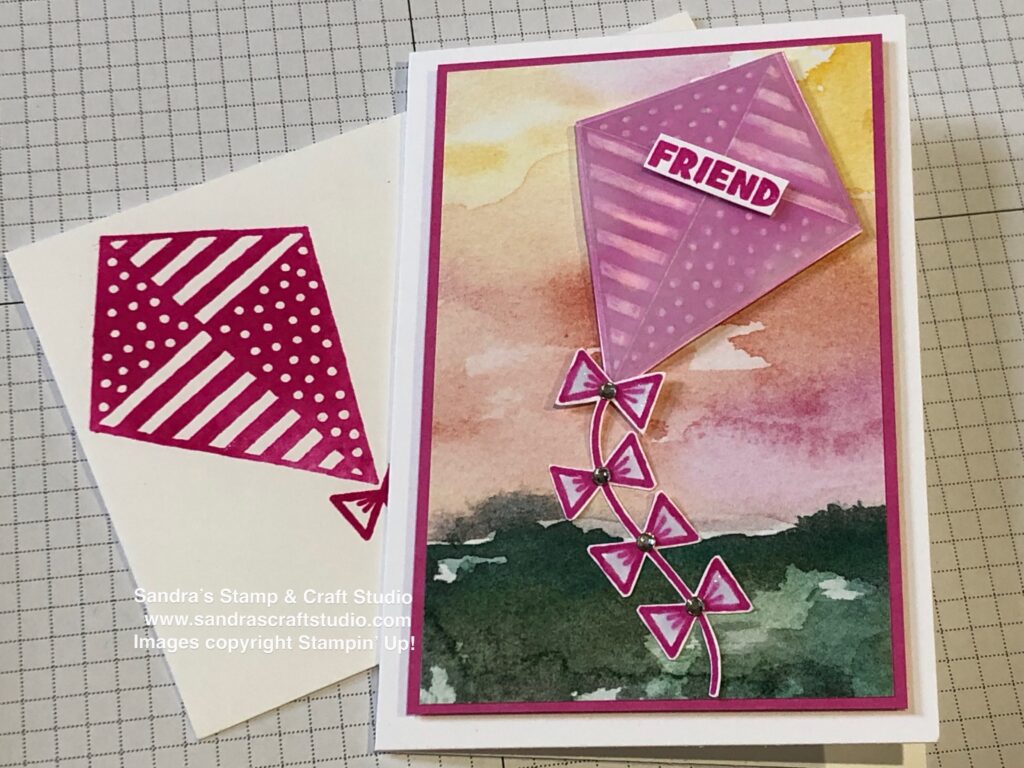
Today I share my card, using some basic techniques to complete my Kite, using my favourite Stampin’ Up! Tool.
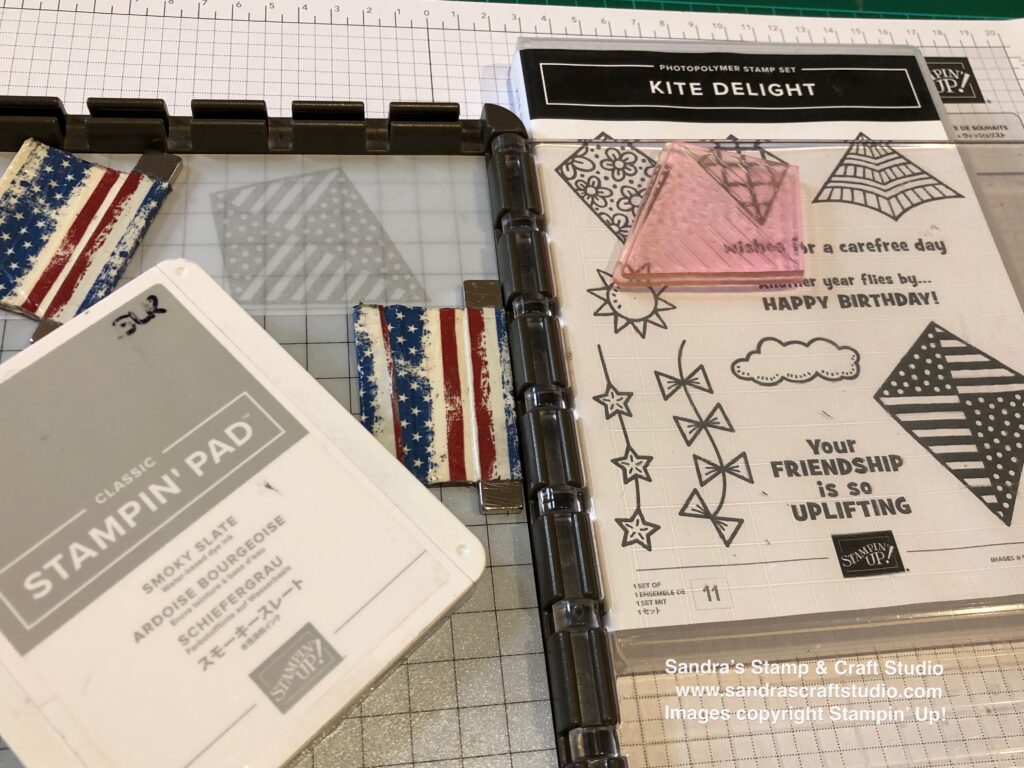
I lined up stamp onto my Stamparatus plate and inked up with Smoky Slate Classic Stampin’ Pad. The image was then stamped onto a strip of Vellum.
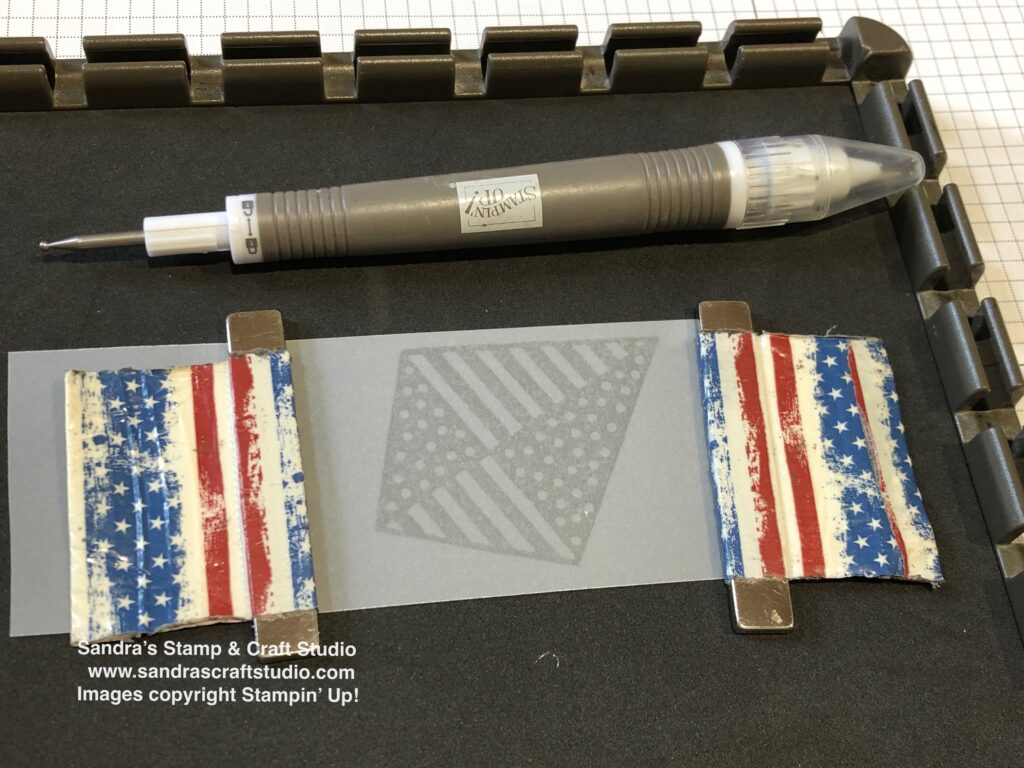
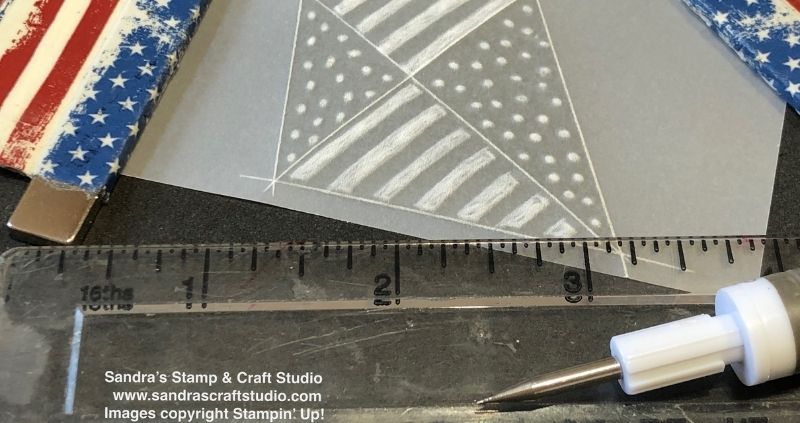
Turning over the stamped Vellum, I continued to work on the Stamparatus mat, using the magnets to hold my work in place. I started with the smallest ball tool from my ‘Take Your Pick Tool’, to shade in the striped gaps. Next I made small circular motion onto each ‘dot’ gap. Stoking the vellum in this way, turns it white but when turned over, totally changes the appearance.
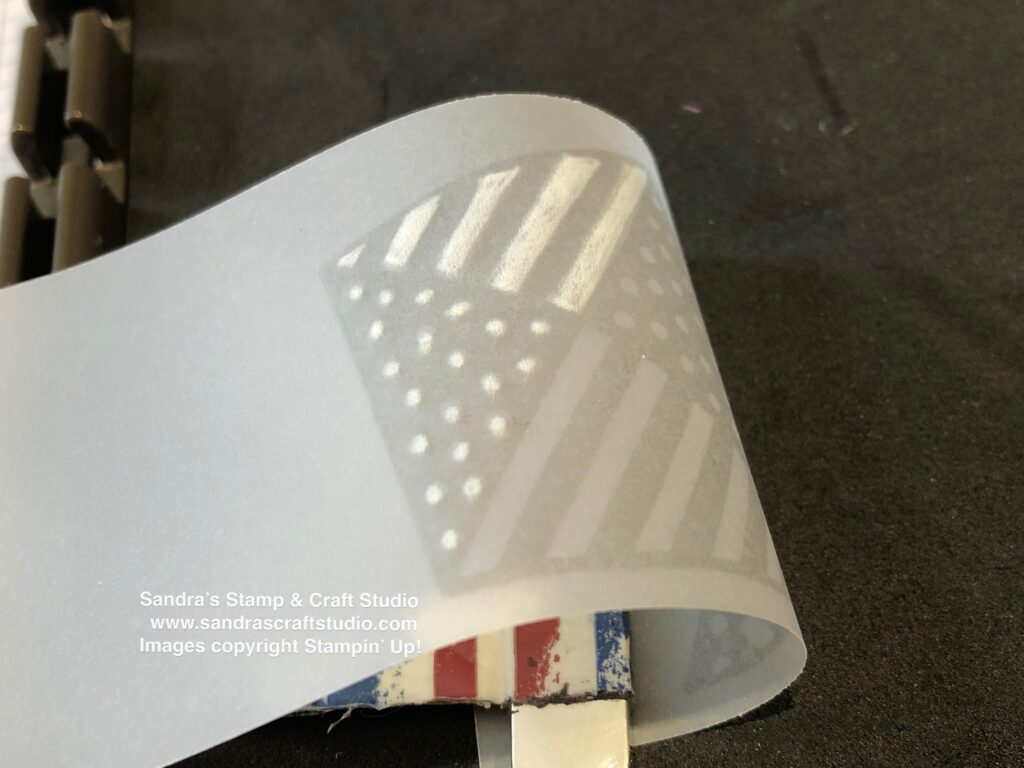
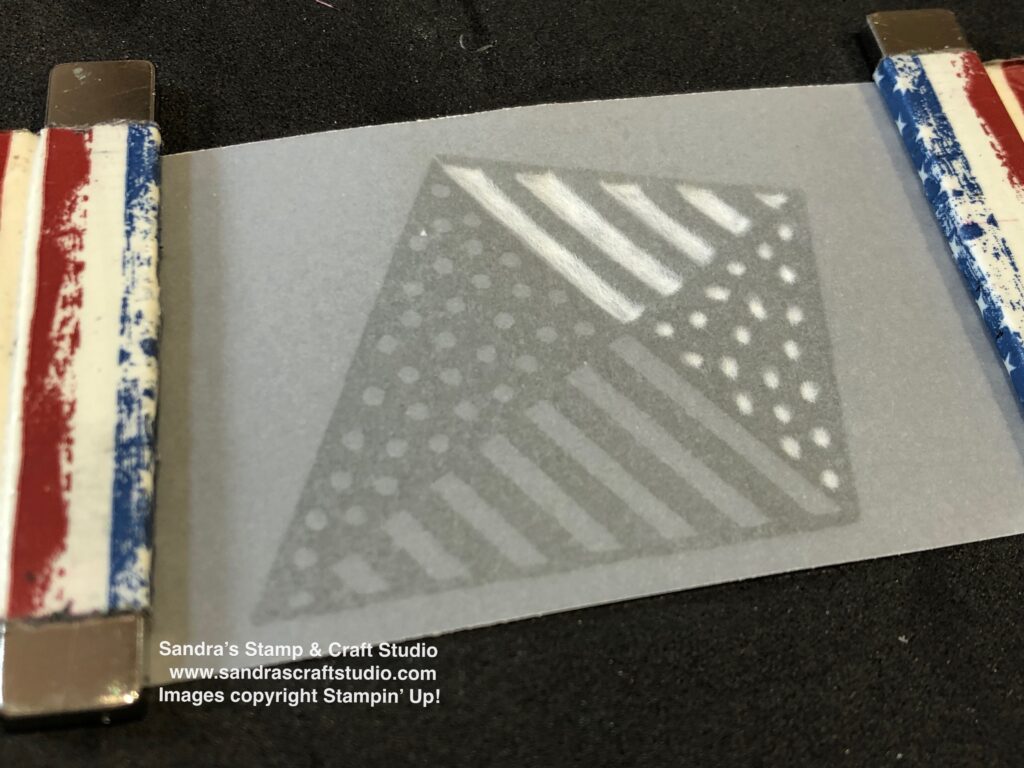
A quick turn over to check progress on the front ……
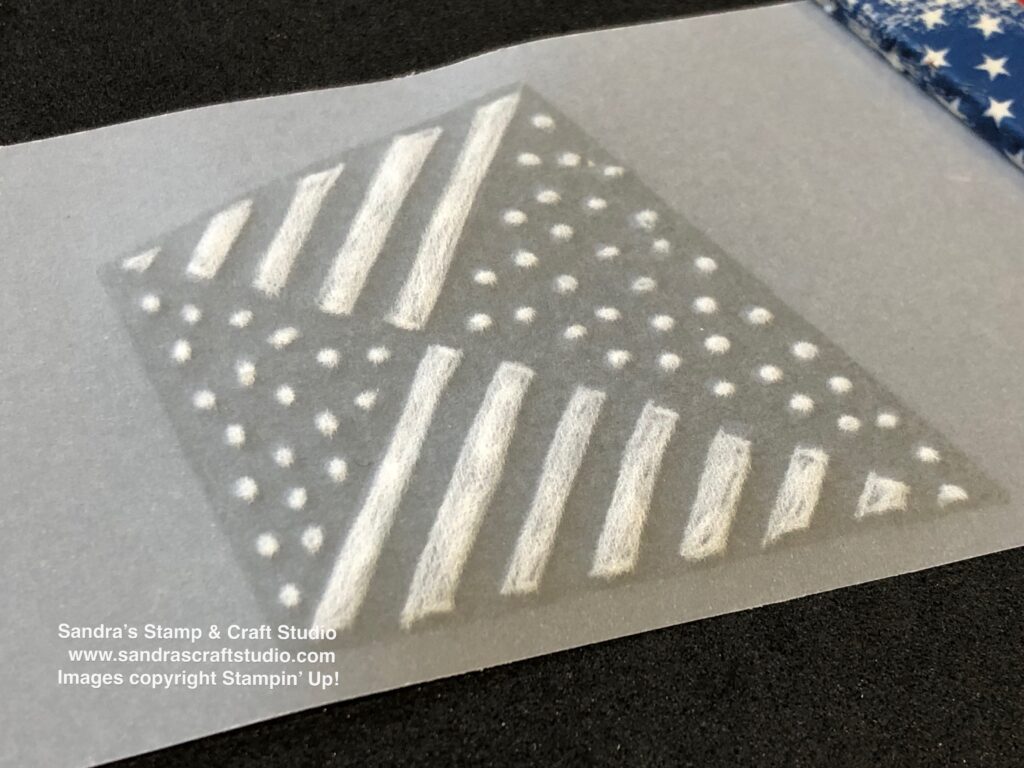
All the White Work is now finished for the inside of the kite image.
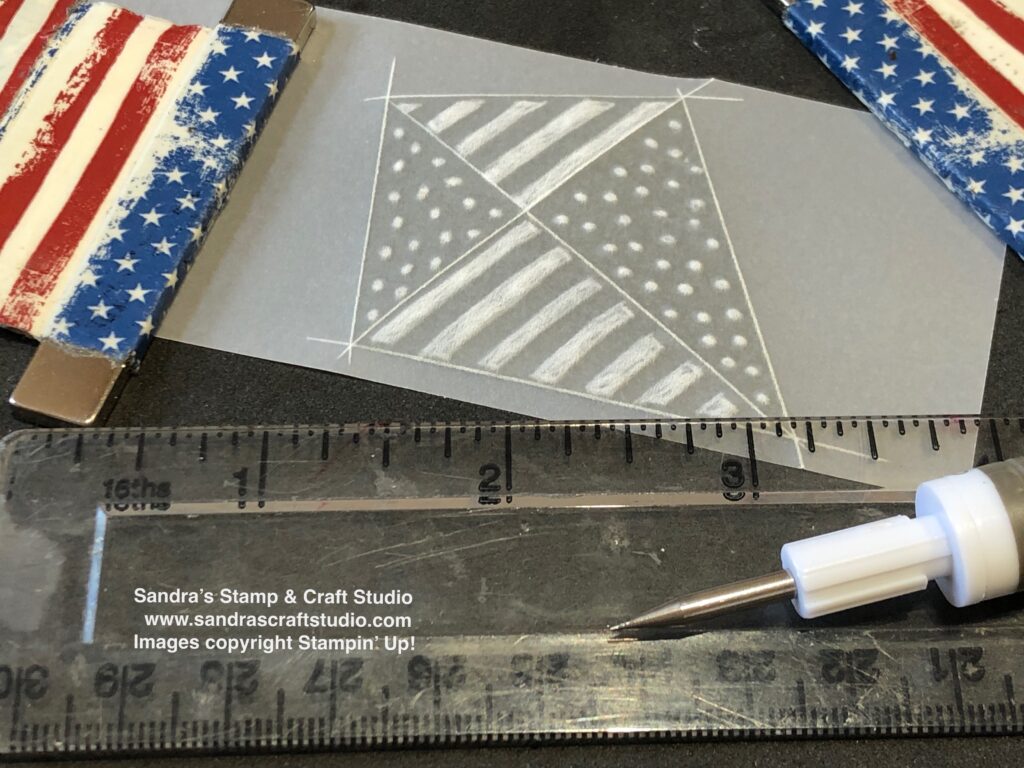
Once finished, I took the pokey tool end of the ‘Take Your Pick Tool’ and a ruler to edge the outside stamped image of the stamp and the cross through the centre. Be careful to use on it’s side at an angle, not the sharp point, as this will pierce the vellum. Apply just enough pressure to make the lines white.
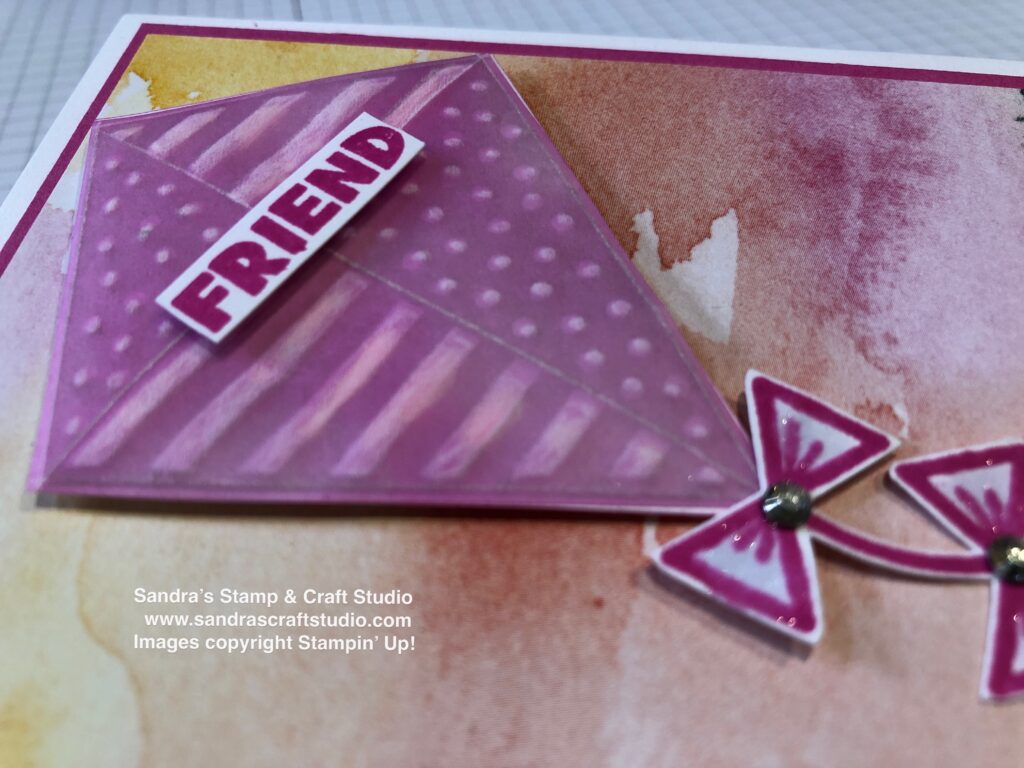
if you wish, the back of your finished vellum can be coloured using Blending Brush with Magenta Madness Classic Stampin’ Pad.
To assemble my card, I started with a mat layer of Magenta Madness card and a piece of On The Horizon Designer Series Paper. I stamped the kit tail in the same ink on a piece of Basic White card and fussy cut with our fabulous Paper Snips.
The smallest Basic Rhinestones were added to the centre of each bow on the kite string.
I hope you have enjoyed my project today. Be sure to click through the others listed below to view their lovely projects. Have fun ‘hopping’ around the globe for more inspiration and hope to see you safely back here again soon.
Crafty Hugs, Sandra x
Let’s Go Hop!

- FREE MONTHLY TUTORIALS – every month I participate with other Global Demonstrators to bring you a ‘bumper’ Tutorial share, emailed FREE with orders over £30. Alternatively, you can purchase for £12 (or £10 for other Stampin’ Up! Demonstrator colleagues).
- STAMPIN REWARDS All orders of £20 or more, Stampin’ Up! will add 10% to your individual rewards on your Account. This can be offset against future purchase or saved for a more expensive item.

EMAIL ~ FACEBOOK ~ PINTEREST ~ YOUTUBE ~ INSTAGRAM ~ CLEARANCE RACK
Have a long shopping list? I would love to help you get started ordering your favourite Stampin’ Up! supplies. Click to FIND OUT MORE or feel free to call and chat about how to save money and Join My Team to enjoy Demonstrator discounts and more.
I’m an Independent Stampin’ Up! Demonstrator covering UK, France, Germany, Netherlands or Austria. Order Online 24/7 with fixed postage £6.95 (€7.95) for direct delivery.
[/et_pb_text][/et_pb_column] [/et_pb_row] [/et_pb_section]